Insights Nicole Holling 6/30/26 Nicole Holling 6/30/26 Nail your Sports Nutrition for Tournament week Read More Nicole Holling 6/30/26 Nicole Holling 6/30/26 Fueling for NRLW game day Read More Adventure Race Reports Nicole Holling 9/2/21 Adventure Race Reports Nicole Holling 9/2/21 One Hells Bells of a weekend! Read More Nicole Holling 7/8/21 Nicole Holling 7/8/21 How to Carry Nutrition & Hydration for your next Adventure Read More Nicole Holling 5/25/21 Nicole Holling 5/25/21 Carb Loading, Pasta, Weetbix galore? – Nutrition before your next Adventure Race Read More Nicole Holling 4/29/21 Nicole Holling 4/29/21 What makes a good competition day breakfast? Read More Nicole Holling 3/8/21 Nicole Holling 3/8/21 What's the deal with Caffeine? Read More Nicole Holling 2/15/21 Nicole Holling 2/15/21 Beginners Guide to Adventure Racing Nutrition Read More Nicole Holling 1/11/21 Nicole Holling 1/11/21 Gravel Bikepacking the Tasmanian Trail Read More Personalised Sports and Diabetes Nutrition from Accredited Dietitians. Book Now
Nicole Holling 6/30/26 Nicole Holling 6/30/26 Nail your Sports Nutrition for Tournament week Read More
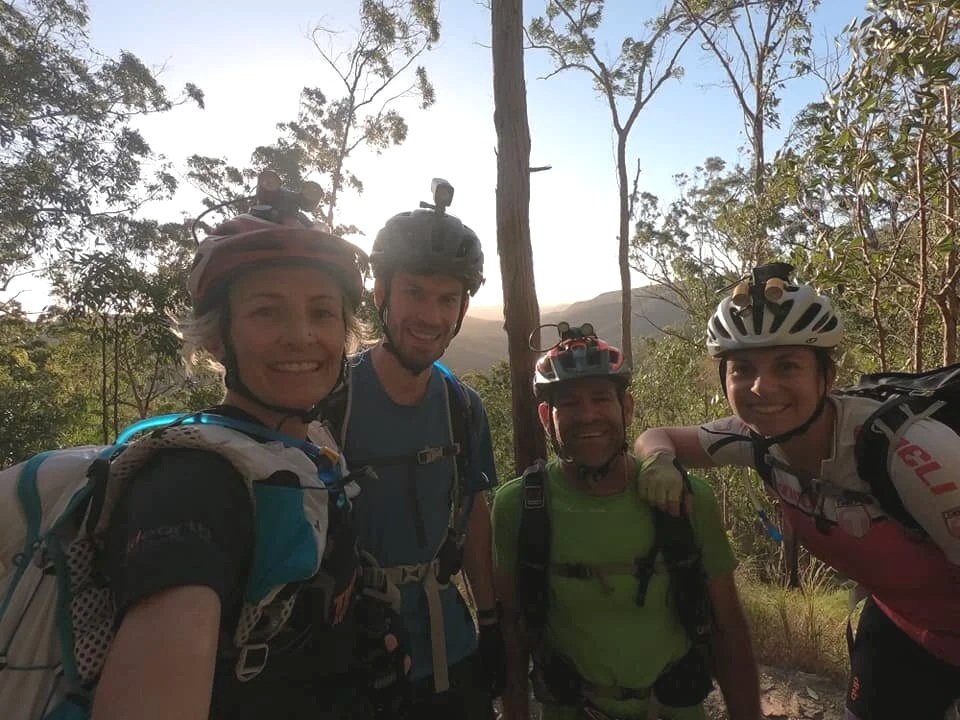
Adventure Race Reports Nicole Holling 9/2/21 Adventure Race Reports Nicole Holling 9/2/21 One Hells Bells of a weekend! Read More
Nicole Holling 7/8/21 Nicole Holling 7/8/21 How to Carry Nutrition & Hydration for your next Adventure Read More
Nicole Holling 5/25/21 Nicole Holling 5/25/21 Carb Loading, Pasta, Weetbix galore? – Nutrition before your next Adventure Race Read More
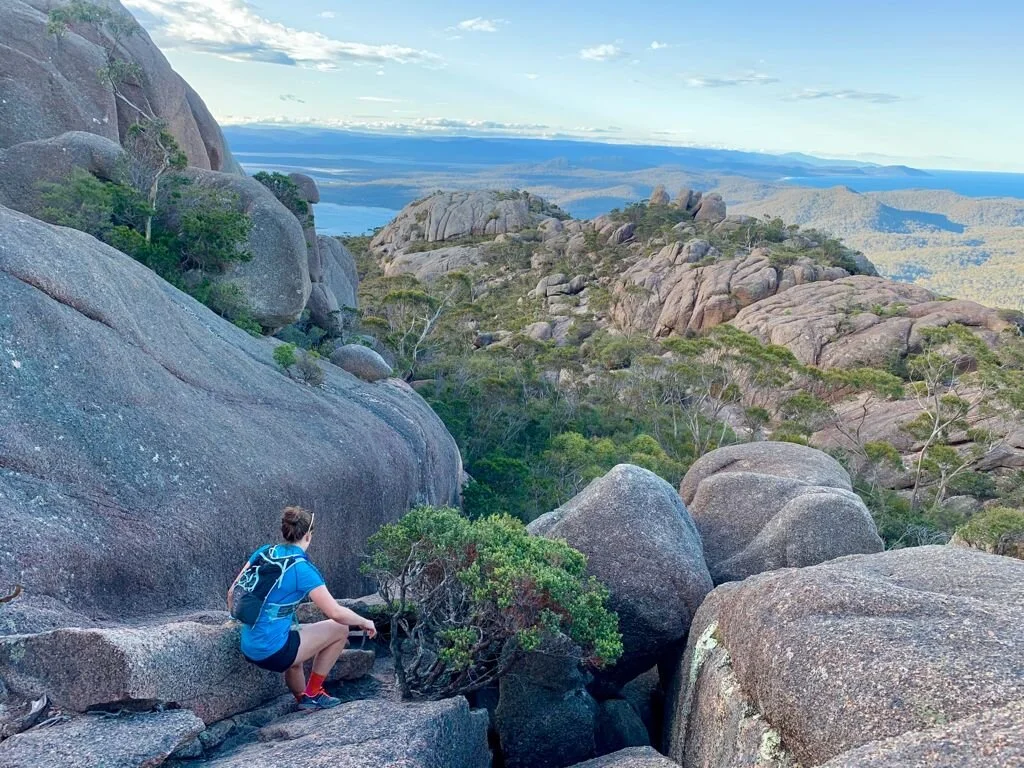
Nicole Holling 2/15/21 Nicole Holling 2/15/21 Beginners Guide to Adventure Racing Nutrition Read More